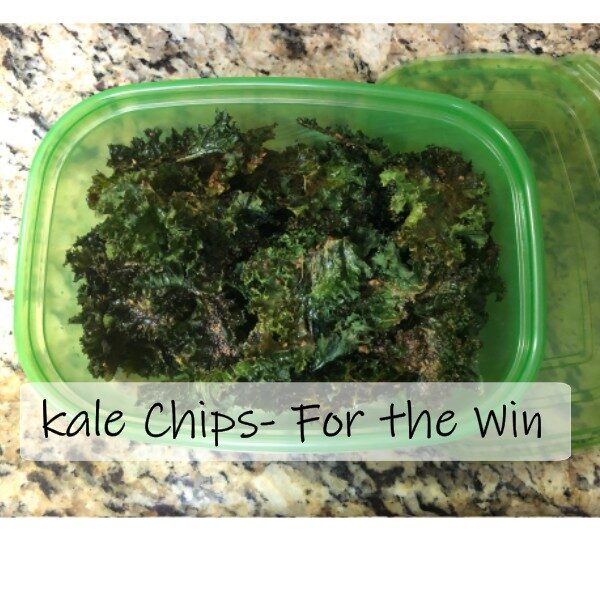
Kale chips – yay or nay?! For me- several years ago they were initially a hardcore no! Green leafy chips? No thank you. But one day I decided to act like an adult {for once} and actually try something rather than just saying I don’t like it when I have never given it a chance.

I was shopping at a local health food store where I get my elderberry syrup and came across some homemade kale chips. They looked pretty crispy and had a fair amount of seasoning on them. Why the heck not? Let’s give it a whirl. I tried them and was blown away. So crispy.. so flavorful. I could definitely taste the leafy green but for some reason it wasn’t bad. I liked it!
Fast forward several years- and now I have a garden and am growing my own kale. I have tried making kale chips a couple of times myself and always seemed to either season it terribly, burn it, or not cook it enough. Good news is- I kept trying till I figured it out!
This last weekend I made some bomb ass kale chips and wanted to share some tips that I learned so that maybe you could make some too!
3 Quick tips to know before you get started and mess it all up.
#1- Your kale has to be SUPER dry! Not like blot it on the top dry.. like let it sit on paper towels for awhile until you can feel it super dry, dry.
#2- Too much olive oil will cause your chips to be soggy.
#3- Kale can go from “omg its looking so crispy” to the fire alarm blaring burnt in like 3 seconds. So do not leave it unattended, just be patient and keep an eye on it.
Ok here we go!
Clean:
Dry the crap out of your kale after washing it- if you have any water on it, it basically will turn your oven into a steamer and you will get mushy kale instead of crispy kale.


Cut:
Use your hands to simply tear the kale, avoiding the stem- into pieces that are large chips. Remember that kale is going to shrink so be pretty generous!

Cover:
This 2 part step is the easiest. Lay all the kale out onto a baking sheet that was covered with parchment paper. The kale chips can touch each other but you don’t want them overlapping. Take some olive oil and just squirt it all over the tops, not enough to completely drown it but you want enough for the seasonings to stick. Now you season just the top side – be generous! These are the seasonings that I used. Roasted Garlic & Herb (I get this brand from Winn Dixie), Garlic salt, and Himalayan Salt.

Cook:
This is definitely the hardest part. Being patient enough for it to cook all the way through but paying enough attention for it not to burn. It goes bad.. fast! I pre-heated my oven to 350 degrees and once it was ready, I added the kale baking sheet and let it go for about 10 mins before I watched like a child watching Hello Neighbor on YouTube. I would say mine were done around the 12 min mark. But that was only after I already burnt a pan.. and just so you can feel my pain- here it is:

A tad overdone, right? Yeah… not eating that. So I tried again and luckily kept my eyes on the prize pulling it out in the right amount of time. Crispy.. flavorful.. and all mine! That’s right- no one else in my family would touch them.. so I ate them all.

I hope this helps you make your own! If you have any other great seasoning combos- leave a comment, I would love to try some other flavors!


